Design Guides
In-depth design guides full of best
practices for
all of HLH's manufacturing processes.


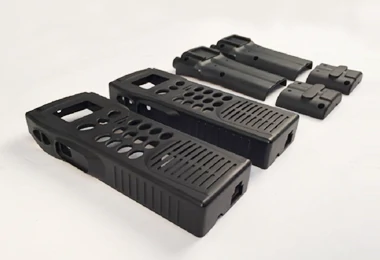
CNC Machining Service
Tight tolerances and finishing capabilities, as fast as 2 days.

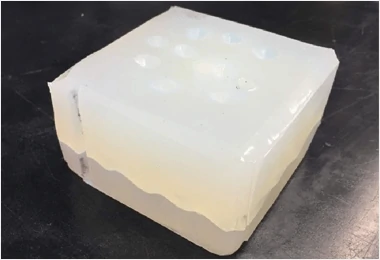
Vacuum Casting Service
Production quality parts without the tooling investment.

Sheet Metal Fabrication
Experience the versatility 6 cost efficiency withflexible application options.

Die Casting Service
Create high quality custom mechanicals withprecision and accuracy.

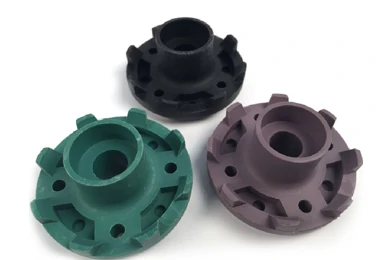
Injection Molding Service
Production-grade steel tooling, as fast as weeks.
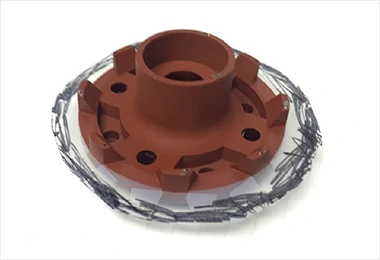
Carbon Fiber Manufacturing
Composite materials, such as carbon fiber reinforced plastics are highly versatile and efficiert materials.
Popular Services

Injection Molding Service
A faster, easier way to order high-quality injection molded parts that accelerates iteration, testing, and scaled production. Upload your designs for DFM feedback and pricing in 24 hours.

3D Printing Service
Our 3D printing solutions cater to personalised needs with a diverse range of materials and colour options, including SLA, SLS, FDM, Projet, DMLS, and MJF printing services.

Surface Finishing
The easiest way to source your custom parts, with 15+ surface finishing options.

Design Guide
In-depth design guides full of best practices for all of HLH's manufacturing processes.

Case Studies
Success stories from innovativecompanies using HLH.

Blog
lndustry trends, company news andproduct updates.
Featured Posts

Aerospace & UAV
HLH is your 3D manufacturing partner from prototype to large scale production.

Consumer Products
New Product Introduction Solutions for Consumer Products.

Automotive
New Product Introduction Solutions for Automotive.

Industrial Machinery
The main purpose of industrial prototyping is to take the product from drawings into the real world.

Robotics & Automation
Need some assistance bringing your robotic device or parts from the sketch-board to reality?

Medical Devices
The medical industry needs high quality, dependable and safe parts and products.

Communications
We understand the demands and ever changing landscape of the communications industry.

Product Development
Industrial design and engineering consultancies are some of the most innovate and creative enterprises on the planet.

In-depth design guides full of best
practices for
all of HLH's manufacturing processes.
